Simple rotation model images stitcher
A basic example on image stitching.
In this demo, we show how to use the high-level stitching API provided by cv.Stitcher, and we learn how to use preconfigured stitcher configurations to stitch images using different camera models.
Sources:
Contents
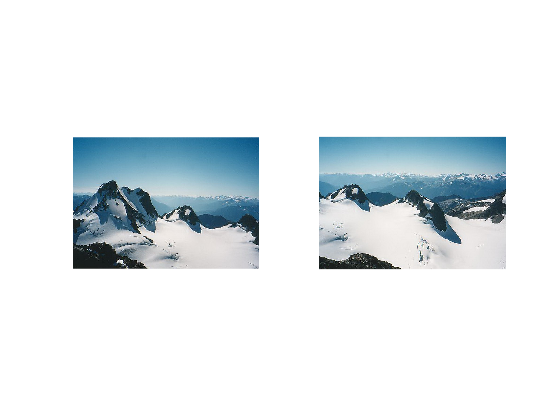
Input images (two or more)
imgs = {
    imread(fullfile(mexopencv.root(),'test','b1.jpg')), ...
    imread(fullfile(mexopencv.root(),'test','b2.jpg'))
};
for i=1:numel(imgs)
    subplot(1,numel(imgs),i), imshow(imgs{i})
end
Options
% Try to use GPU. The default value is false.
% All default values are for CPU mode.
try_use_gpu = false;

% Determines configuration of stitcher. The default is 'Panorama' mode
% suitable for creating photo panoramas. Option 'Scans' is suitable for
% stitching materials under affine transformation, such as scans.
smode = 'Panorama';

% Internally create three chunks of each image to increase stitching success
divide_images = false;
if divide_images
    for i=1:numel(imgs)
        sz = size(imgs{i});
        imgs{i} = {
            cv.Rect.crop(imgs{i}, [0       0 sz(2)/2 sz(1)]), ...
            cv.Rect.crop(imgs{i}, [sz(2)/3 0 sz(2)/2 sz(1)]), ...
            cv.Rect.crop(imgs{i}, [sz(2)/2 0 sz(2)/2 sz(1)])
        };
    end
    imgs = [imgs{:}];
end
Stitch
stitcher = cv.Stitcher('Mode',smode, 'TryUseGPU',try_use_gpu);
tic
pano = stitcher.stitch(imgs);
toc
Elapsed time is 1.139193 seconds.
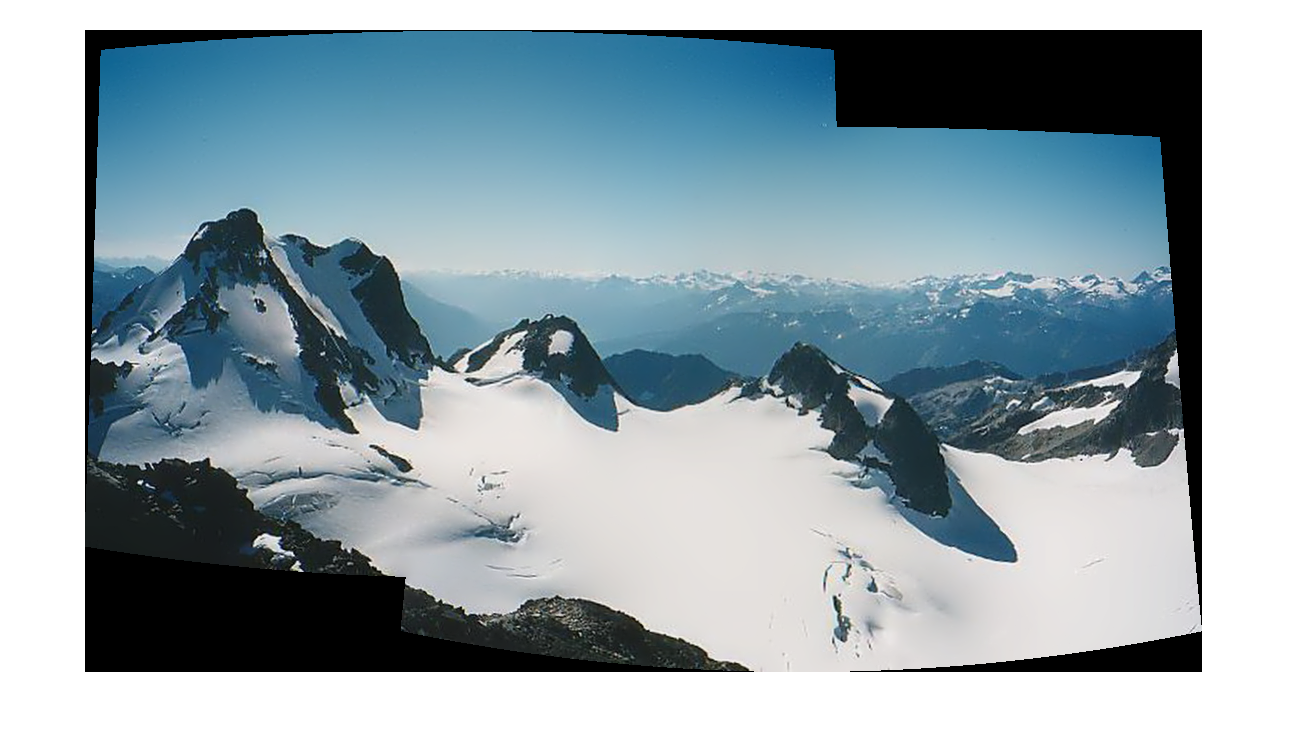
Panorama result
figure, imshow(pano)
